Physio Panorama, SA
Expert, Hands-On Physio Care, near Panorama, Adelaide
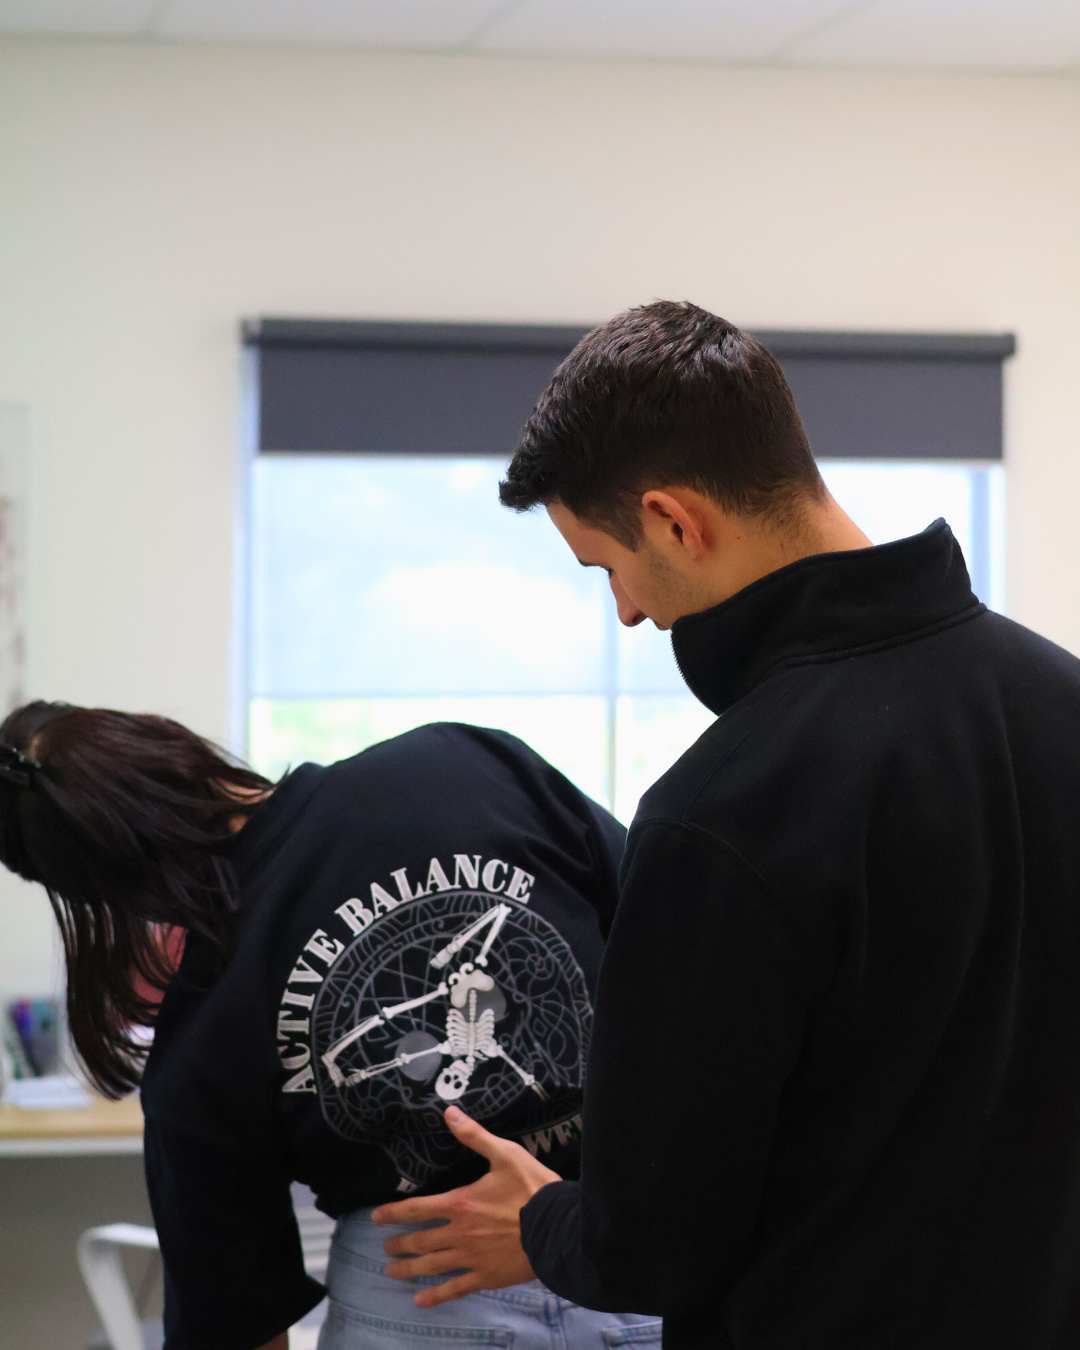
At Active Balance Physio & Wellness, we provide personalised, hands-on physiotherapy to help you reduce pain, recover from injury, and move with confidence. Located just minutes from Pasadena, our team combines expert assessment, hands-on treatment, and structured rehab to get you real, long-term results.
If you’re looking for a physio near Panorama, SA, we provide tailored treatment plans designed around your body, lifestyle, and goals.
Whether you’re dealing with a recent injury, long-term pain, or working toward a return to sport, our team will guide you every step of the way.
5 Minutes from Panorama
After hours appointments
Onsite, free parking available
Experienced practitioners
Physiotherapy Panorama
Physiotherapy is an evidence-based approach to treating pain, injury and movement issues. Our physios are highly trained in assessment, hands-on treatment and rehabilitation, helping you recover, move better and stay active long term.
When you see our team, you can expect:
- A thorough assessment of your injury, movement, and goals
- Hands-on treatment to reduce pain and improve mobility
- Clear rehab guidance to support long-term recovery
- Ongoing support to help you stay active and confident
We’re not here for quick fixes, we’re here to help you recover properly.
A Hands-On Approach to Physiotherapy
We take a hands-on, practical approach to treatment.
Depending on your needs, this may include modalities such as:
- Joint mobilisation
- Soft tissue work
- Trigger point therapy & myofascial release
- Dry needling (with or without electrotherapy)
- Guided exercise & rehab
- Myofascial Cupping
Treatment doesn’t just stop there, we will also guide you through what to do between sessions so you can keep improving, and reduce the risk of your pain coming back.

What Physiotherapy Can Help With:
We treat a wide range of conditions, including:
- Back pain (acute and chronic)
- Neck pain, headaches, and migraines
- Sports injuries (strains, sprains, tendon injuries)
- Shoulder, knee, and joint pain
- Sciatica and nerve-related pain
- Post-surgery rehabilitation
- Tendinopathies and overuse injuries
- Vertigo (BPPV) and dizziness
- Concussion and post-head injury symptoms
- Mobility, strength, and balance concerns
Our goal is simple: help you move better, feel stronger, and get back to doing what you enjoy.
Supporting the Panorama Community
We’re proud to support patients from Panorama and surrounding suburbs, helping people stay active, recover from injury, and move with confidence. We work closely with numerous local sporting clubs, and are proud to support grassroots sports.
Planning for your appointment
Address
You’ll find us at 135 Daws Rd, St Marys 5042.
We share our building with Daws Road Medical Centre. Enter through the front doors, and head upstairs.
*There is a lift conveniently located opposite the stairs should you need it.
Contact details
To schedule a session or ask questions, please call us on 0450877731, or head to our online booking portal. Appointments are available Monday to Saturday.
Parking
There is onsite parking available, however on the rare chance the carpark is full, there is street parking available nearby on Benjamin Street.
Your Physiotherapy Journey
Initial Consultation
During your first session (45-60minutes), your physio will take a detailed history and assess posture, flexibility and strength. We may use special tests to identify the structures causing your symptoms. Treatment usually includes hands‑on therapy (such as massage, joint mobilisation, cupping or dry needling) to alleviate discomfort and improve mobility. We’ll also prescribe targeted exercises via our digital platform, ensuring you have clear guidance for self‑management.
Ongoing Care
Follow‑up sessions (30–60 minutes) focus on progressing your exercise program, reassessing your movement and addressing any remaining restrictions. We provide education on ergonomics, load management and activity modification to reduce the risk of reinjury..
Why Choose Active Balance for Physiotherapy?
Convenient St Marys location
Located on Daws Rd, St Marys, our clinic is easily accessible and has onsite parking available
Longer Appointment times
We offer a minimum of 30 minutes with your physio to ensure a high level of care
Holistic approach
We work together as team to try and find the best outcomes for our clients
Hands on Treatments
Our physios are highly skilled at hands on techniques such as dry needling, soft tissue massage and myofascial cupping
Sports & Performance Services
Running Technique & Biomechanics
Runners in Panorama can benefit from our two‑session running assessment. The first appointment evaluates strength, flexibility and running form using high‑tech VALD equipment and video analysis; the second provides a comprehensive report, rehab plan and hands‑on treatment. This service helps identify inefficiencies, prevent overuse injuries and enhance performance.
Athlete Maintenance & Return‑to‑Sport Testing
Our Athlete Tune‑Up is a longer treatment session combining deep tissue massage, trigger point therapy, myofascial cupping, dry needling and joint mobilisation to iron out niggles and keep you performing at your best.
For those recovering from injury, return‑to‑sport testing using VALD ForceDecks and Dynamo provides objective data on strength, power and symmetry so you can return to sport confidently.
Other Clinic Services:
We offer a range of physiotherapy & aligned services to support your recovery and performance, including:
- Myotherapy & deep tissue massage
- Remedial massage & lymphatic drainage
- Mat Pilates
- Infrared Sauna
- NormaTec Compression Boots
Frequently Asked Questions – Physio Panorama
1. Do I need a referral to see a physio?
No referral is required. You can book directly with our physio team. Private health rebates may apply depending on your cover.
2. What conditions do your physios treat?
We treat are wide range of conditions, including, but not limited to: back pain, neck pain, sports injuries, shoulder and knee pain, joint stiffness, concussion, headaches and post-surgical rehabilitation.
3. Do you offer hands-on physiotherapy?
Yes. Hands-on treatment is a key part of our approach. We use manual therapy, massage, joint mobilisation and dry needling where appropriate.
4. How many sessions will I need?
This depends on your injury and goals. After your first appointment, we provide a clear treatment plan so you know what to expect.
5. Can you help with sports injuries?
Absolutely. We work with athletes of all levels, helping manage pain, improve performance and guide a safe return to sport.
Physiotherapy Services Available at Active Balance
Vertigo & BPPV Treatment
Treatment for dizziness and vertigo with targeted, evidence-based treatment.
Supervised Injury Rehab
Tailored rehab in our fully equipped gym to restore movement, strength, and confidence.
Athlete Tune Up
Hands-on treatment to reduce tension, address imbalances, and help you train and recover better.
Running Assessments
Comprehensive running analysis to help you move better, run further, and reduce injury risk
Return to Sport Testing
Advanced testing with VALD ForceDecks & Dynamo to ensure you’re ready to return safely
Our Physiotherapy Team

Emily Clements
Physiotherapist
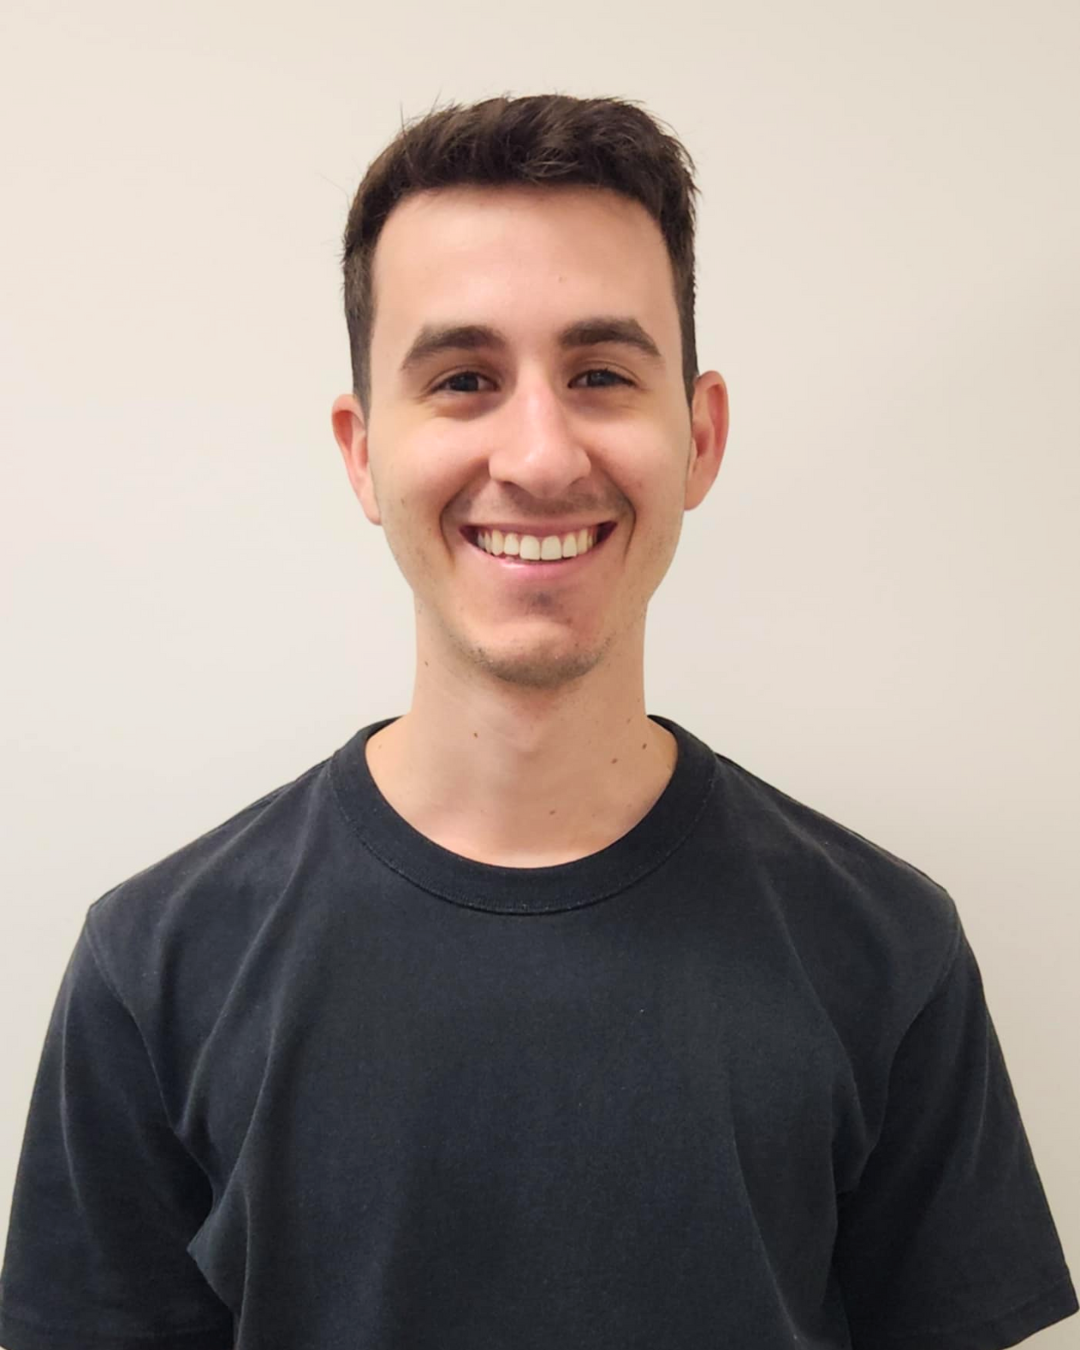
Alexander Muscat
Physiotherapist
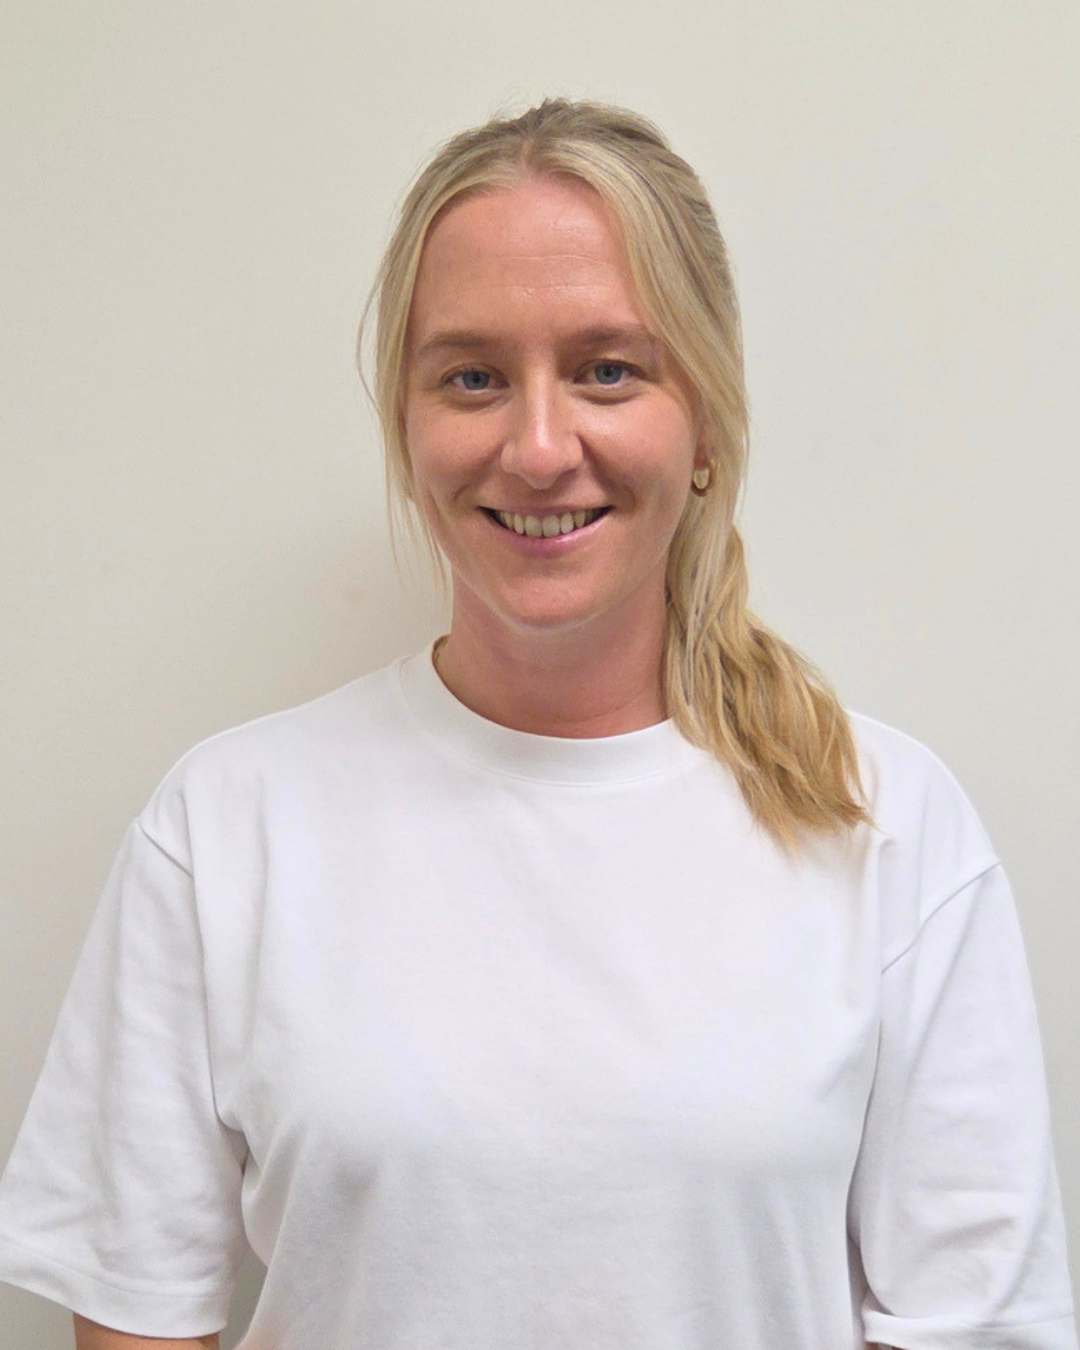


Talia Alt
Physiotherapist